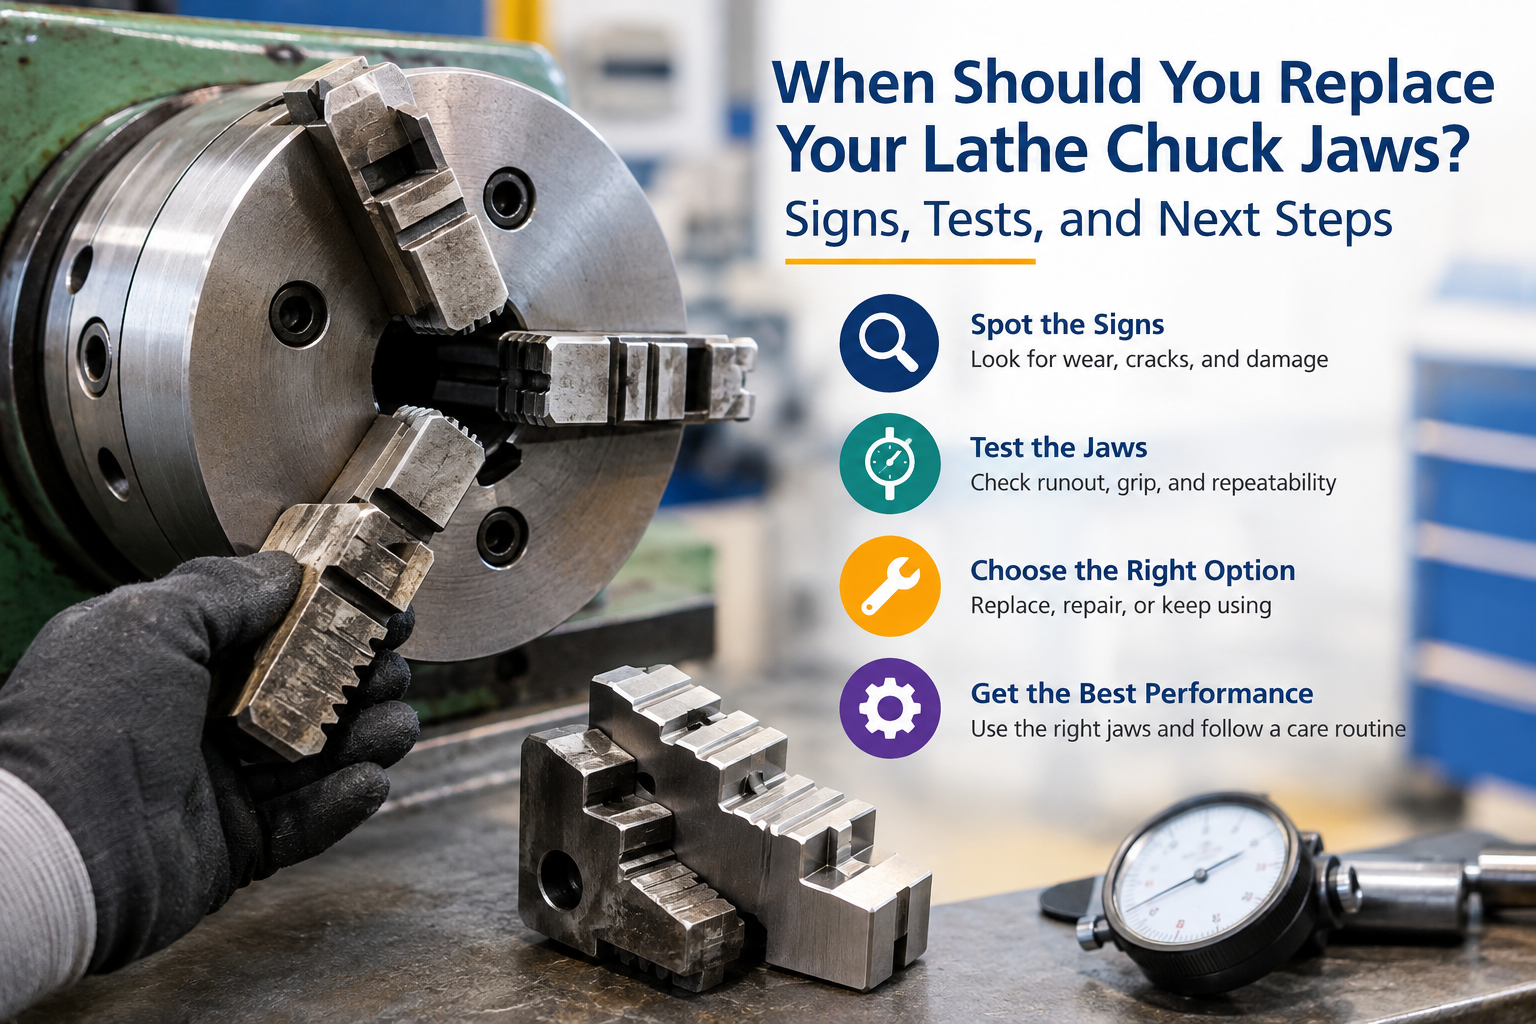
When Should You Replace Your Lathe Chuck Jaws? Signs, Tests, and Next Steps
A turning job can go wrong when a workpiece slips, chatters, or comes out off-center. Sometimes, the problem is not the cutting tool or machine settings. Worn or damaged Lathe Chuck Jaws may be the real cause. If the jaws cannot hold the workpiece properly, they can affect part accuracy, waste valuable material, and create serious safety risks.

Knowing when to replace your lathe chuck jaws can help you avoid these problems. However, replacing them too early can also increase costs. The best approach is to inspect the jaws, check their performance, and compare the results with the chuck manufacturer’s instructions.

In this guide, you will learn how to spot jaw wear, test jaw performance, and decide whether to clean, repair, or replace your jaws. You will also learn how to choose the right replacement jaws and prevent early wear.
A Small Jaw Problem Can Put a Whole Job at Risk
Lathe chuck jaws hold a workpiece in place while the machine rotates it. They help keep the part secure and correctly positioned during cutting. When the jaws become worn or damaged, they may not grip the workpiece evenly.
For example, imagine a machine shop turning a steel shaft. The first few parts look correct, but later parts show poor concentricity or movement during cutting. The operator may spend time adjusting the machine, changing tools, or checking the program. However, the real problem could be worn chuck jaws.
Why Jaw Condition Matters
Good jaw condition is important for both accuracy and safety. Worn gripping teeth, damaged jaw slides, or uneven contact can reduce the holding force and make the workpiece less stable.
This can lead to several problems:
- Poor accuracy: The workpiece may not sit in the correct position.
- Surface damage: Uneven gripping can leave marks on the finished part.
- Part movement: A weak grip can allow the workpiece to shift during cutting.
- Extra costs: Incorrect parts may need rework or replacement.
- Safety risks: A workpiece that comes loose from a rotating chuck can cause serious injury or equipment damage.
There is no single replacement schedule for every set of jaws. Jaws used every day in heavy production may wear faster than jaws used for occasional jobs. The material being machined, clamping pressure, cleaning routine, and working conditions can also affect their service life.
What This Guide Will Help You Decide
Before buying new jaws, check whether the problem comes from dirt, incorrect installation, worn gripping faces, or another part of the machine.
Some problems may be solved through proper cleaning and setup. Other problems may require professional repair or complete jaw replacement. Always use the chuck manufacturer’s inspection limits and your shop’s safety procedures to make the final decision.
Spot the Signs That Jaws Need Replacing
Regular inspection helps you find problems before they affect production. Check the jaws when you notice changes in part accuracy, gripping performance, or chuck movement.
Look for Wear, Cracks, and Damaged Gripping Faces
Start with a visual inspection. Stop the machine, isolate it according to your shop’s safety procedure, and make sure the spindle cannot start before inspecting the chuck.
Look for these warning signs:
- Cracks: Cracks in a jaw can weaken its structure and make it unsafe to use.
- Chipped teeth: Damaged gripping teeth may reduce contact with the workpiece.
- Rounded teeth: Worn teeth may not grip as well as they should.
- Deep grooves: Heavy wear can create uneven contact and affect repeatability.
- Burrs and rough edges: Raised metal can prevent a jaw from seating correctly.
- Uneven wear: One jaw may show more damage than the others.
- Bent or distorted jaws: A damaged jaw may not align or grip properly.
Also check whether the jaws move smoothly through their intended travel. If a jaw binds, sticks, or feels different from the others, investigate the cause before using the chuck again.
Do not continue using cracked or badly damaged jaws. Replace them or have the chuck inspected by a qualified professional before returning the machine to production.
Watch for Slipping, Runout, and Poor Repeatability
The jaws may need attention if the workpiece moves during a suitable cutting operation or repeatedly sits off-center after reclamping.
Runout is the amount of variation measured as a part or test surface rotates around its axis. Excessive runout can affect the final size, shape, and finish of a machined part.
However, do not assume that worn jaws are always the cause. Runout can also result from:
- Dirt or chips trapped between the jaws and their mounting surfaces.
- Incorrect jaw installation.
- A damaged or worn chuck.
- Spindle problems.
- A bent workpiece or unsuitable test surface.
- Incorrect workholding methods.
Check the complete setup before deciding that the jaws need replacement. If the readings remain outside the manufacturer’s limits after proper cleaning and setup checks, further inspection is necessary.
Check Jaw Travel and Contact With the Work
The jaws should move as designed and make suitable contact with the workpiece. Check for uneven travel, binding, and signs that one jaw is not seating correctly.
Also consider the shape and size of the part. The wrong jaw type or an unsuitable gripping surface can prevent proper contact even when the jaws are not badly worn.
If the workpiece cannot be held securely, stop the job. Do not try to solve a gripping problem by increasing clamping pressure without checking the cause. Excessive pressure can damage the workpiece, jaws, or chuck.
Test the Jaws Before You Decide
A visual check is useful, but measurements can help you make a better decision. Use the same inspection method each time so you can compare results and identify changes.
Clean the Chuck and Inspect the Jaw Fit
First, remove chips, dust, and old lubricant using the chuck manufacturer’s approved cleaning method. Pay attention to the jaw teeth, mounting surfaces, and accessible slides.
Incorrectly seated jaws or trapped chips can affect gripping and runout. Cleaning may solve the problem without requiring replacement.
Next, confirm that each jaw is installed in the correct order and position. Many chucks use numbered jaws and matching scroll positions. Follow the manufacturer’s instructions rather than guessing the installation sequence.
Inspect the mounting surfaces for damage. If the jaws do not seat correctly or the slides remain rough after cleaning, have the chuck checked before using it.
Measure Runout With a Dial Indicator
A dial indicator can help measure runout and compare the results with the chuck manufacturer’s stated limits.
Follow these basic steps:
- Choose a suitable test bar or known-good workpiece that matches the chuck and inspection procedure.
- Clean the gripping surfaces and mount the test piece correctly.
- Secure the indicator and position its tip against the specified test surface.
- Rotate the spindle by hand only when permitted by the machine and chuck instructions, with the machine safely isolated as required.
- Record the indicator readings and compare them with the permitted limits.
- Repeat the check using the same setup points and method.
Never place your hands near a rotating chuck or attempt to take measurements while the machine is running unless an approved procedure specifically permits the operation.
If the runout is too high, check jaw installation, cleanliness, the test piece, and the chuck itself. A dial indicator can reveal a problem, but it does not automatically prove that the jaws are the cause.
Test Grip and Repeatability Safely
Use a suitable test piece and follow the approved procedure for checking gripping performance. Confirm that the chuck, jaws, and workpiece are suitable for the planned test and speed.
Record whether the part stays in position and whether its measured location changes after removal and reclamping. Compare the results with your shop’s acceptance limits.
Do not perform a gripping test with cracked jaws, visibly damaged components, or an uncertain setup. Never use your hands to check whether a rotating workpiece is secure.
If the workpiece shifts or the results remain inconsistent, stop and investigate before continuing production.
Choose Between Replacement, Repair, and Continued Use
After inspection and testing, decide whether the jaws need replacement, professional repair, or continued use. The right choice depends on their condition and whether they meet the manufacturer’s requirements.
Replace Jaws When Damage Affects Safe Grip
Replace the jaws if you find cracks, bending, serious wear, or damage that affects their ability to hold the workpiece securely.
Replacement is also necessary when the jaws fail the chuck manufacturer’s fit or performance limits and an approved repair is not available.
Using damaged jaws to save money can lead to higher costs later. A damaged part, machine repair, or workplace accident may cost much more than a replacement jaw set.
Always choose jaws designed for your chuck model. Do not assume that jaws with similar dimensions will fit or perform correctly.
Repair Only When the Maker Allows It
Some jaw wear may be corrected through an approved repair process. For example, certain soft jaws can be bored or machined to match a particular workpiece. Some hard jaws may also be suitable for specific manufacturer-approved servicing methods.
However, not every jaw can be repaired safely. Grinding or machining a jaw can change its shape, strength, or gripping performance.

Before repairing the jaws, consult the chuck manufacturer’s instructions or contact a qualified machinist or chuck service shop. Never grind, reshape, or modify hardened jaws without the correct equipment, setup, and professional guidance.
Keep Using Jaws That Pass Inspection
Jaws do not need replacement simply because they have been used for a long time. If they show no serious damage and pass the required fit, gripping, and performance checks, they may remain suitable for use.
Create an inspection schedule based on how often the machine runs, the materials being machined, the cutting conditions, and the risk involved.
Keep a simple record of inspection dates, visible wear, runout readings, repairs, and jaw changes. These records help you notice changes before they cause production problems.
Select the Right Replacement Jaws and Prevent Early Wear
Choosing the correct replacement jaws is just as important as knowing when to replace the old ones. The right jaws can improve workholding, reduce part damage, and help maintain consistent results.
Match the Jaws to the Chuck and Job
Before ordering new jaws, confirm the following details:
- Chuck model: Check the make and model of your chuck.
- Jaw type: Confirm whether you need hard jaws, soft jaws, or another approved design.
- Mounting style: Make sure the mounting system matches your chuck.
- Size and travel: Check the required jaw dimensions and permitted travel.
- Operating speed: Follow the chuck and jaw manufacturer’s speed limits.
- Workpiece requirements: Consider the material, shape, size, and surface finish of the part.
Hard jaws are often used for general production work and repeated gripping tasks. Soft jaws can be machined to match a specific workpiece, making them useful when a job needs accurate positioning or protection from gripping marks.
The best choice depends on the application. Always follow the chuck manufacturer’s guidance and use a jaw set approved for your equipment.
Install and Set Up the New Jaws Correctly
Even new jaws can cause problems if they are installed incorrectly.
Follow the manufacturer’s instructions for jaw order, mounting, tightening, and alignment. Make sure each jaw is seated correctly and moves as intended.
After installation, inspect the setup and measure runout using an approved method. Confirm that the workpiece is held securely before returning the chuck to production.
Also check that the chuck and jaw combination is suitable for the planned operating speed. Incorrect installation or operation beyond permitted limits can create serious safety risks.
Build a Simple Jaw-Care Routine
Good maintenance can help reduce early jaw wear. Add these steps to your normal machine inspection routine:
- Clean chips and dirt from jaw teeth and accessible slides.
- Use only approved cleaning products and lubricants.
- Check for cracks, chips, burrs, and uneven wear.
- Avoid excessive clamping pressure.
- Use the correct jaw set for each job.
- Inspect jaw seating after changing or reinstalling jaws.
- Record runout readings and other important inspection results.
A short checklist can help operators follow the same process every time. It also makes it easier to identify repeated problems and plan maintenance before production is affected.
Use Shop Evidence to Make the Call
Inspection results are more useful than guesses. A simple example shows why it is important to check the complete setup before replacing parts.
Illustrative Case: A Part That Keeps Shifting
Imagine a machine shop where a steel component keeps shifting during turning. The operator first suspects the cutting tool, but changing the tool does not solve the problem.
During inspection, the team finds chips around the jaw mounting surfaces, uneven wear on the gripping faces, and inconsistent runout readings.
The team cleans the chuck using the approved method, checks the jaw installation, and repeats the measurements. The readings improve, showing that contamination and setup were part of the problem.
However, the jaws still fail the manufacturer’s required performance checks. A qualified technician confirms that the worn jaws cannot be returned to acceptable service through an approved repair.
The shop replaces the jaws, checks the new setup, and verifies the results before restarting production.
This is an illustrative example, not a documented customer case. It shows why cleaning and measurement should come before the final replacement decision.
The main lesson is simple: replace jaws when inspection proves they are no longer suitable for safe and accurate work, rather than replacing them based on a guess.
Add a Verified Machinist or Maker Insight
If you are publishing this article for a machine shop audience, consider adding a short comment from a qualified machinist or chuck manufacturer.
Ask about common signs of jaw wear, approved inspection methods, and the limits that determine when replacement is necessary. Verify the wording and source before publishing any quotation.
You can also include a measurement from a manufacturer’s manual or an actual shop inspection record. Explain what the measurement means and cite the original source.
Avoid using unsupported statistics or made-up expert quotations. Accurate information helps readers make safer decisions and builds trust in your content.
Replace Jaws When They No Longer Grip Reliably
Knowing when to replace lathe chuck jaws helps protect your workpieces, equipment, and operators. The key is to check their physical condition and measured performance instead of relying on a fixed replacement age.
Use this checklist when deciding what to do next.
Your Lathe Chuck Jaw Inspection Checklist
-
Check for cracks, chips, bending, and badly worn gripping teeth.
-
Clean the chuck and remove trapped chips using the approved method.
-
Confirm that the jaws are installed correctly and seat properly.
-
Check jaw travel and contact with the workpiece.
-
Measure runout using an approved inspection procedure.
-
Compare the results with the chuck manufacturer’s limits.
-
Repair jaws only when the manufacturer permits it.
-
Replace jaws that cannot hold the workpiece securely or fail required checks.
-
Record inspection results and plan future checks.
If you are unsure whether the jaws can hold the workpiece safely, stop the machine and have the chuck inspected by a qualified professional.
Final Thoughts
Lathe chuck jaws are important parts of a safe and accurate machining setup. Over time, wear, damage, contamination, and incorrect installation can affect their performance. Ignoring these problems can lead to poor part quality, wasted material, and dangerous workholding failures.
The best approach is to inspect the jaws regularly, clean them correctly, measure runout when needed, and follow the manufacturer’s limits. Repair them only through approved methods, and replace them when they no longer meet the required safety and performance standards.
Remember: the condition and measured performance of your lathe chuck jaws matter more than their age. A simple inspection routine and clear maintenance records can help you make better replacement decisions and keep your machining work safe and consistent.