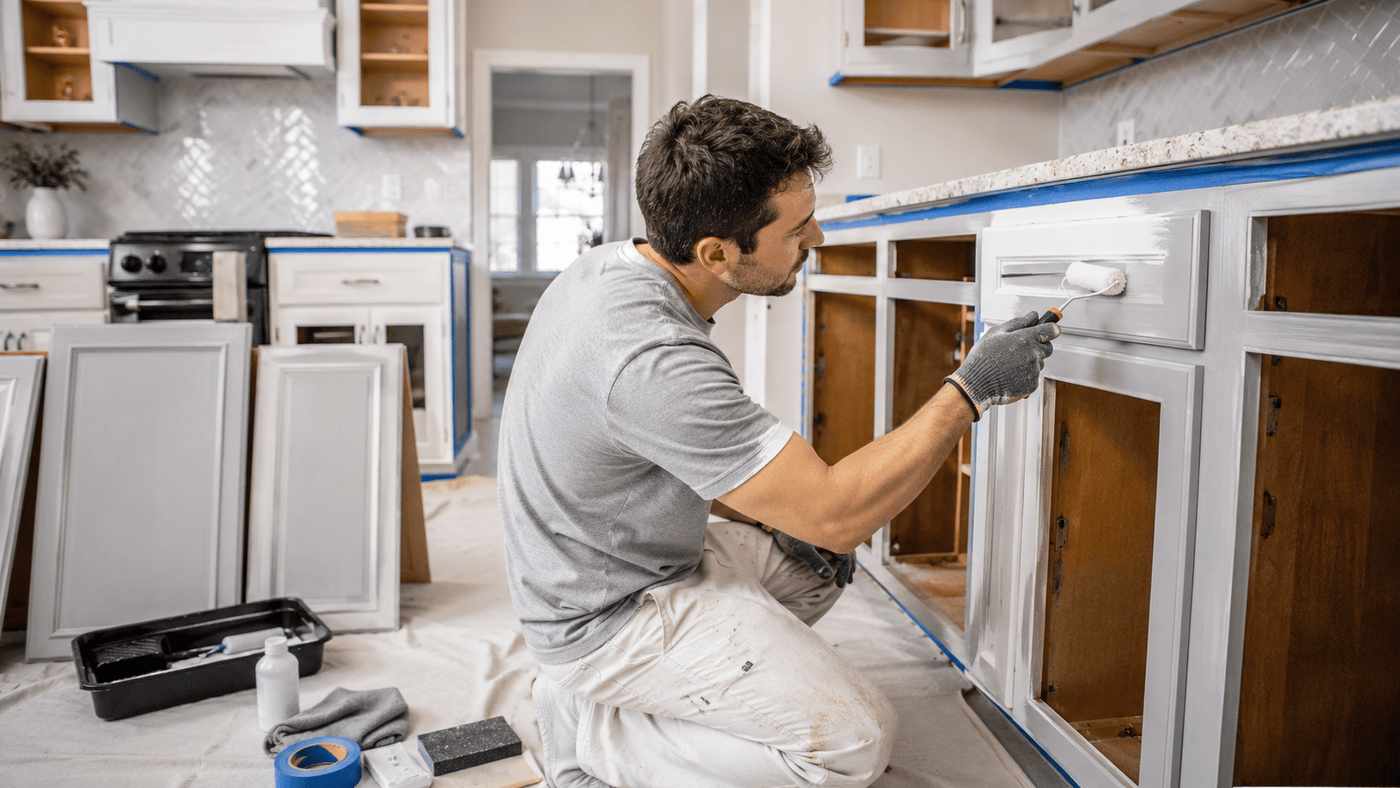
Tired cabinets can make an otherwise lovely kitchen feel dated, but ripping them out is expensive and messy. A fresh coat of paint changes the whole mood of a room at a fraction of the price, as long as the job is done in the right order. Pros like DenCo Custom Painting LLC have seen both beautiful transformations and peeling disasters, and the difference almost always comes down to preparation. This guide walks through cabinet painting in Henderson CO from first decision to final cure, so you know exactly what a durable finish requires.
Check Whether Your Cabinets Are Good Candidates
Solid wood and well built MDF boxes paint beautifully. Cabinets with water swollen bases, loose joints, or peeling laminate need repair or a different approach first. Open each door and press along the edges and corners. If the structure is sound, paint can give it years of extra life.

Plan Your Color and Finish
Choosing a Color That Lasts
Soft whites, warm greys, deep greens, and muted blues continue to be popular because they play well with changing counters and floors. Test samples on a door and look at them in morning and evening light before committing.
Picking the Right Sheen
Satin and semi gloss hold up best against fingerprints and wipe downs. Flat finishes look elegant but mark easily, so they are rarely ideal in a working kitchen.
Clear and Protect the Workspace
Empty the cabinets, cover counters and floors with rosin paper or drop cloths, and tape off walls and appliances. Good ventilation matters too, so open windows and run a fan. A clean, protected space prevents dust from landing in wet paint and saves you hours of cleanup.
Remove, Label, and Clean Everything
Label Doors and Hardware
Number each door and its matching opening with painter’s tape, and bag the hinges and pulls by cabinet. It sounds fussy, but it keeps the reinstall quick and the doors hanging evenly.
Degrease Thoroughly
Kitchen cabinets collect cooking oil that you cannot always see. Wash every surface with a degreasing cleaner and rinse well, because paint will not stick to a film of grease no matter how good the primer is.
Fill Dings and Holes
Use wood filler on dents and old hardware holes, let it dry, and sand it flush. These small fixes are what separate a flawless finish from one that looks homemade.
Sand and Prime for Strong Adhesion
Light sanding with fine grit paper dulls the old finish so primer can bite in. Wipe away dust with a tack cloth, then apply a high adhesion bonding primer. On oak or other open grain woods, a grain filler step helps hide the texture if you want a smoother look. Here in Colorado’s dry air, primer tends to flash off quickly, so work in manageable sections and keep a wet edge.
Apply the Paint in Thin Coats
Brush, Roller, or Sprayer
Sprayers give the smoothest factory like finish, while a quality brush and fine foam roller can still deliver excellent results with patience. Many experienced painters pair the two, depending on the profile of the door.

Allow Proper Drying Between Coats
Two or three thin coats beat one thick coat every time. Follow the manufacturer’s recoat window and lightly sand between coats for a silky surface. Rushing here is the most common cause of drips and sticky doors.
Reinstall and Let the Finish Cure
Hang Doors Carefully
Wait until the paint is fully dry to the touch, then reinstall hinges and pulls using your labels. Soft close bumpers on the door corners protect the new finish from knocks.
Respect the Cure Time
Paint feels dry long before it is truly hard. Most cabinet coatings take a couple of weeks to reach full strength, so be gentle and avoid scrubbing during that period. Professional cabinet painting in Henderson CO always accounts for this hardening time when scheduling the final walkthrough.
Keep Your Cabinets Looking New
Clean with a soft cloth and mild soap, avoid harsh abrasives, and wipe spills quickly. Touch up chips with a small brush before moisture can creep underneath. A little routine care keeps the finish tight and bright for years.
Frequently Asked Questions
How long does cabinet painting take?
A typical kitchen takes about four to seven days from prep to reinstall, depending on the number of doors and drying times. Spraying can speed up the process a little. Full curing continues for a couple of weeks afterward.
Can I paint cabinets without sanding?
Some products claim to skip sanding, but results are usually better with at least a light scuff. Sanding gives the primer something to grip and reduces peeling later. Cleaning and priming are the steps you should never skip.
Is cabinet painting in Henderson CO worth it compared with replacing cabinets?
For most homeowners with sound cabinets, yes. Painting costs far less than replacement and creates very little disruption. The result can look nearly new if the prep and paint choices are right.
What paint is best for kitchen cabinets?
Look for durable cabinet enamels or urethane modified paints that cure to a hard finish. These resist moisture, grease, and daily wear better than standard wall paint. Your painter can recommend a product that suits your cabinets and routine.
Final Thoughts
A kitchen refresh does not have to mean a full remodel. With patient prep, quality materials, and careful finishing, your existing cabinets can look brand new. If you are ready for professional Cabinet painting in Henderson CO, choose a crew that values preparation as much as the final color.