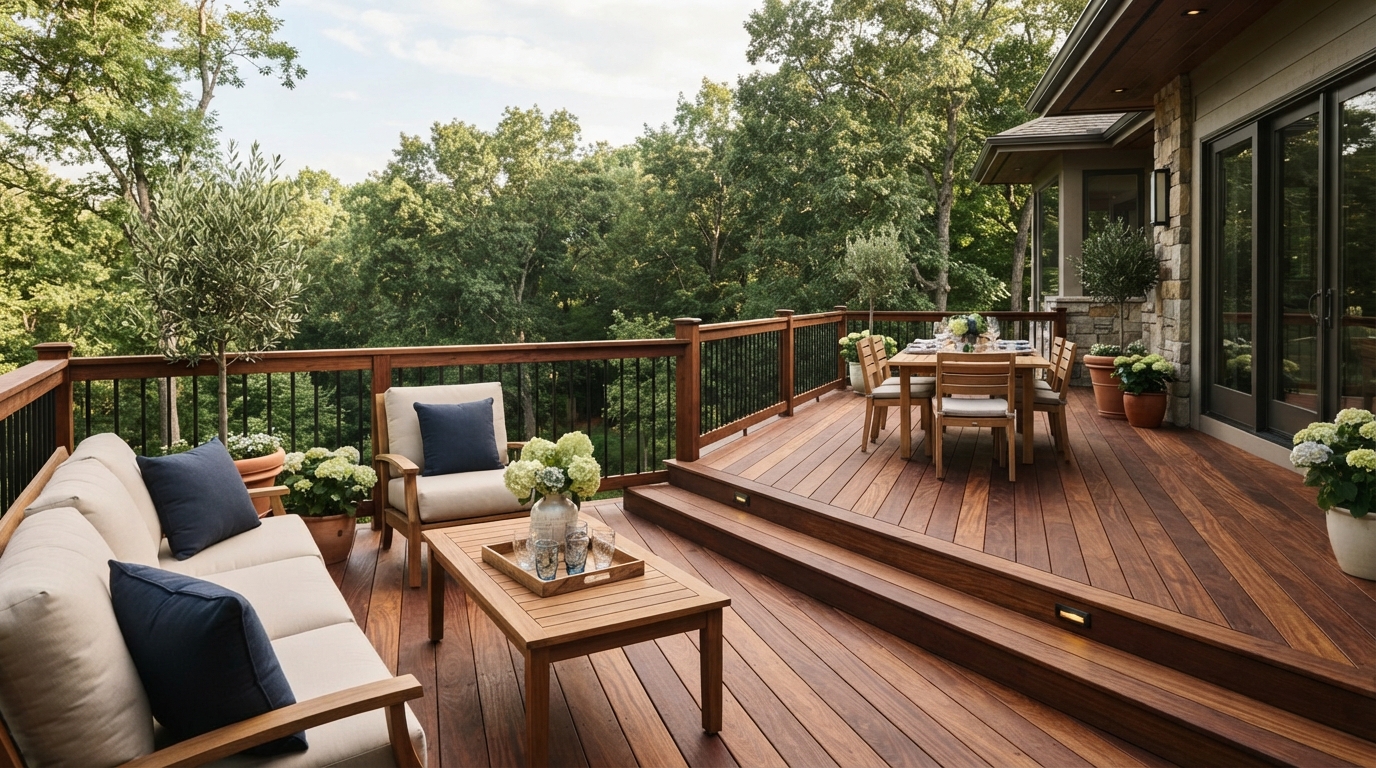
A timber deck adds warmth and character to an outdoor space, but its appearance can fade with time. Sunlight, rain, dirt, and regular use all affect exposed wood. Deck Staining gives the surface colour while helping it cope with everyday outdoor conditions. The quality of the finish depends on more than the stain itself. Careful preparation and steady application matter just as much.

A rushed job may leave uneven colour, visible marks, or areas that wear sooner than others. The wood needs to be clean, dry, and ready before any stain is applied. Knowing how to stain a wooden deck at home makes the work easier to plan and helps create a richer finish that looks consistent across the boards.

Deck Staining Starts With Proper Wood Preparation
Good preparation sets the base for the whole job. Start by clearing furniture, planters, mats, and other items from the deck. Sweep away loose dirt, leaves, and debris, then inspect the boards closely. Look for damaged timber, loose fasteners, raised fibres, mildew, or areas where an older finish remains. These problems need attention before fresh stain goes down.
Cleaning is a key part of preparing a deck for staining because dirt can stop the product from reaching the wood evenly. Use a suitable deck cleaner and follow its instructions rather than applying harsh products at random. Rinse the surface well and allow it to dry fully. Damp boards can affect how stain spreads and how deeply it enters the timber.
Check the Wood Before Cleaning
Take time to inspect the deck before starting. Loose boards should be secured, while badly damaged sections may need repair or replacement. Pay close attention to shaded areas, as these may hold more moisture and develop surface growth. Check stairs, edges, railings, and areas near doors as well.
The age of the wood also matters. New timber may need time to weather before staining, depending on its type and the product being used. Older timber may need more cleaning or light sanding. Understanding the condition of the boards helps determine the preparation work required.
Remove Old Surface Problems
An older deck may have peeling stain, flaking coating, or patches of uneven colour. These areas should not simply be covered with a new coat. Loose material can cause the fresh finish to fail along with the old layer. Scraping, cleaning, and light sanding may be needed to create a more even surface.
Sanding can also smooth rough fibres raised by weather or cleaning. Avoid making the timber unnecessarily smooth, though, as some stain products need a little surface texture to soak into the wood. The aim is a clean, sound surface rather than a polished one.
Choosing Stain For A Richer Wood Finish
The stain you choose affects both the appearance and the maintenance needs of the deck. Products vary in colour, transparency, finish, and level of protection. Some show much of the natural grain, while others give the timber a deeper and more even colour. The best option depends on the existing wood and the look you want.
Before buying a product, read the manufacturer’s directions carefully. Check whether it is designed for exterior decking and whether it suits the type of timber you have. Choosing the right stain for a wooden deck also means considering how much colour you want and how often you are prepared to maintain the finish.
Compare Colour Before Full Application
A stain can look very different on a real deck than it does on a label or screen. Test a small amount on an inconspicuous section of the same timber. Let it dry before judging the result, as the colour may change as the product settles.
Testing also shows how strongly the wood absorbs the stain. Boards with different ages or exposure may not produce exactly the same shade. A small test gives you a chance to adjust your choice before covering the entire surface.
Consider Transparent And Deeper Finishes
A lighter stain allows more of the natural grain to remain visible. This may suit timber that already has an attractive pattern. A deeper stain gives stronger colour and may create a more uniform appearance where the boards have weathered unevenly.
Neither approach is automatically better. The choice depends on the condition of the deck and the finish you prefer. Think about how the colour will look beside the home’s exterior, garden, fencing, and other outdoor features.
Applying Deck Stain Evenly Across The Boards
Application technique has a major effect on the final appearance. Work in manageable sections rather than trying to cover the whole deck at once. Apply the stain according to the product instructions and keep a steady pace. Working along the length of the boards usually makes it easier to maintain an even appearance.
Avoid applying too much product in one area. Heavy patches may take longer to dry and can create visible differences in colour. How to apply stain evenly to deck boards depends on controlled application, suitable tools, and careful attention to where each section begins and ends.
Choose The Right Weather
Weather conditions affect drying and application. Very hot sunlight can cause stain to dry too quickly, while rain or high moisture can interfere with the finish. Check the product label for recommended temperature and weather conditions before beginning.
A calm, dry period is usually easier to work in. Watch the forecast rather than starting simply because the deck is available. Give the stain enough time to dry according to the manufacturer’s instructions before allowing normal foot traffic or replacing furniture.
Work With The Wood Grain
Use a brush, roller, or other tool recommended for the product. Keep strokes controlled and follow the direction of the boards where practical. Work from one section into the next while the edges are still workable. This reduces the chance of obvious overlap marks.

Pay attention to board ends, gaps, steps, and railings. These areas often receive less attention but remain visible once the project is finished. A consistent approach across all parts of the deck gives the surface a more complete appearance.
Protecting The Finish After Staining
Fresh stain still needs time and care after application. Follow the manufacturer’s drying and curing instructions rather than judging readiness by touch alone. Keep furniture, heavy objects, and regular traffic away from the surface for the recommended period. Early use can leave marks or interfere with the finish.
Regular care also affects how long the colour remains attractive. Sweep away leaves and dirt, clean spills when they occur, and avoid letting standing water remain on the boards. Maintaining a stained wooden deck is easier when small problems are dealt with before they become larger surface issues.
Keep Dirt And Moisture Under Control
Leaves and organic debris can trap moisture against timber. Sweep the deck regularly, especially in areas beneath trees or near garden beds. Pay attention to corners and gaps where debris tends to collect.
Standing water deserves similar attention. Check whether water drains away properly after rainfall. If certain sections stay wet for long periods, the underlying drainage or deck condition may need investigation rather than relying on another coat of stain.
Know When The Finish Needs Attention
A deck does not always need complete re-staining at the first sign of fading. Look at how the existing finish is wearing. Areas with heavy foot traffic may fade sooner than sheltered sections. Horizontal boards often experience more exposure than vertical surfaces such as railings.
When the finish begins to look thin, worn, or uneven, assess the surface before applying more product. Cleaning may be enough in some cases, while other decks may need fresh preparation and another coat. Following the product instructions helps avoid unnecessary layers.
Conclusion
A richer deck finish starts long before the stain reaches the wood. Cleaning, repairs, surface preparation, colour testing, suitable weather, and controlled application all influence the final result. Deck Staining works best when each stage receives enough attention rather than treating the process as a quick coat of colour.
Good maintenance then keeps the timber looking cared for for longer. Regular cleaning, sensible use, and timely checks can prevent small surface issues from becoming bigger problems. With a careful approach, a home deck can retain its natural character while carrying a more even and lasting finish.
FAQs
How should I prepare a deck before staining?
Clear the deck, sweep away debris, clean the boards, repair damaged areas, and remove loose old coatings. Allow the timber to dry fully before applying stain.
What is the best way to get an even deck stain finish?
Work in manageable sections, follow the direction of the boards, avoid heavy application, and maintain a steady pace. Test the stain first to understand how the wood absorbs it.
How long should a deck dry before staining?
Drying time depends on the cleaning method, timber condition, weather, and product instructions. The boards should be properly dry before stain is applied.
Can I stain a deck without sanding it?
It depends on the condition of the wood. Sound timber may only need thorough cleaning, while rough fibres, peeling coatings, or uneven old finishes may require sanding or further preparation.
How do I maintain a stained deck?
Sweep away leaves and dirt regularly, deal with spills promptly, watch for standing water, and inspect areas where the finish receives heavy wear. Recoat only when the surface and product instructions call for it.