Car paint can suffer greatly from prolonged exposure to the sun. Over time, ultraviolet (UV) rays cause the paint to fade, peel, or become dull. Recognizing the need for repair is essential to maintaining the vehicle’s aesthetic and value. Taking immediate action can prevent further deterioration, allowing you to restore your car’s appearance effectively.
This guide outlines the steps to repair sun-damaged paint. Whether you’re a car enthusiast or a casual driver, knowing how to address this issue is beneficial. The process can be manageable with the right tools and techniques. From identifying the damage to applying protective coatings, each step will help you restore your car’s finish and protect it from future harm.
Understanding The Effects Of Sun Damage On Car Paint
UV rays are the primary culprits behind paint damage. They break down the paint’s protective layers, leading to fading and discoloration. The clear coat, which shields the color layer, may also become brittle and start to peel away. This not only impacts aesthetics but can also expose the underlying metal to rust and corrosion.
It’s important to address sun damage promptly. If you live in a sunny area, such as Las Vegas, it’s crucial to understand how these elements affect your vehicle. For those seeking affordable solutions, finding the cheapest mobile mechanic Las Vegas can help. A professional can assess the damage and suggest the best course of action for repair.
Identifying Different Types Of Sun Damage
Sun damage manifests in various forms, and recognizing them is the first step in repair. Common signs include fading, discoloration, and peeling paint. In some cases, you may also notice a chalky texture on the surface. Each of these issues indicates different levels of damage and may require specific repair techniques.
Additionally, understanding the type of paint on your vehicle can help determine the best approach for repair. Different finishes, such as metallic or matte, may react differently to the sun. Identifying the exact nature of the damage will allow for targeted solutions and better outcomes in restoration.
Assessing The Extent Of Damage
Before proceeding with any repair, it’s crucial to evaluate how severe the damage is. Start by inspecting the paint under good lighting. Look for areas where the clear coat has lifted or where color has faded significantly. Use your fingers to feel the texture of the paint, noting any rough spots or areas of concern.
Taking photos of the damage can also be helpful. Documenting the condition of the paint will provide a reference point during the repair process. Understanding the extent of the damage will guide your repair choices, ensuring you select the appropriate techniques and materials to restore your car effectively.
Preparing Your Workspace For Repair
Creating a suitable workspace is vital for a successful repair. Choose a shaded area to avoid direct sunlight while you work. This will prevent the paint from drying too quickly and allow you to have better control during the repair process. Clear the workspace of any clutter and ensure you have all necessary tools within reach.
Having a well-organized environment will enhance your focus and efficiency. Additionally, proper ventilation is essential when using chemicals or sprays. Ensure the area is well-ventilated to minimize inhalation of fumes. Taking these steps will create a safe and efficient working atmosphere, making the repair process smoother.
Gathering The Necessary Tools And Materials
Before starting the repair, gather all required tools and materials. Common items include sandpaper, polish, and paint restoration products. Additionally, you may need a paintbrush or applicator for even application. Depending on the damage’s severity, a clear coat may also be necessary to finish the job.
Consider purchasing a paint correction kit. These kits often contain everything needed for the repair process. Researching quality products will yield better results, ensuring your efforts lead to a satisfying restoration. Having all materials ready will streamline the process, allowing you to focus on the task without interruptions.
Washing And Cleaning The Affected Area
Begin the repair process by washing the damaged area thoroughly. Use car soap and a soft sponge to remove dirt and debris. Avoid using household cleaners, as they can be harsh on automotive finishes. Ensuring the surface is clean is crucial for proper adhesion during the repair process.
After washing, dry the area with a microfiber cloth. This helps prevent water spots from forming and ensures the surface is prepared for the next steps. Cleaning the area thoroughly sets a solid foundation for effective repair. This attention to detail can significantly impact the overall quality of the final result.
Sanding Techniques For Sun-Damaged Paint
Sanding is a critical step in repairing sun-damaged paint. Use fine-grit sandpaper to gently buff the affected areas. Start with a low grit, such as 1500, to remove the damaged layers effectively. Be cautious not to sand too aggressively, as this can cause further harm to the paint beneath.
Once the damaged areas are smooth, switch to a higher grit, like 2000, for a finer finish. Sanding helps create a smooth surface, which will enhance the appearance of the paint after the restoration process. Taking your time during this step will yield better results, ensuring a polished and professional-looking finish.
Applying Paint Restoration Products
After sanding, it’s time to apply paint restoration products. Start by choosing a high-quality polish or compound specifically designed for automotive finishes. Follow the manufacturer’s instructions for application to achieve the best results. Using a soft applicator pad or microfiber cloth, apply the product in small circular motions.
Allow the product to sit for the recommended time before buffing it out. This helps restore the paint’s shine and clarity. Depending on the severity of the damage, you may need to repeat this process several times. Patience during this step is essential for achieving a restored and vibrant finish.
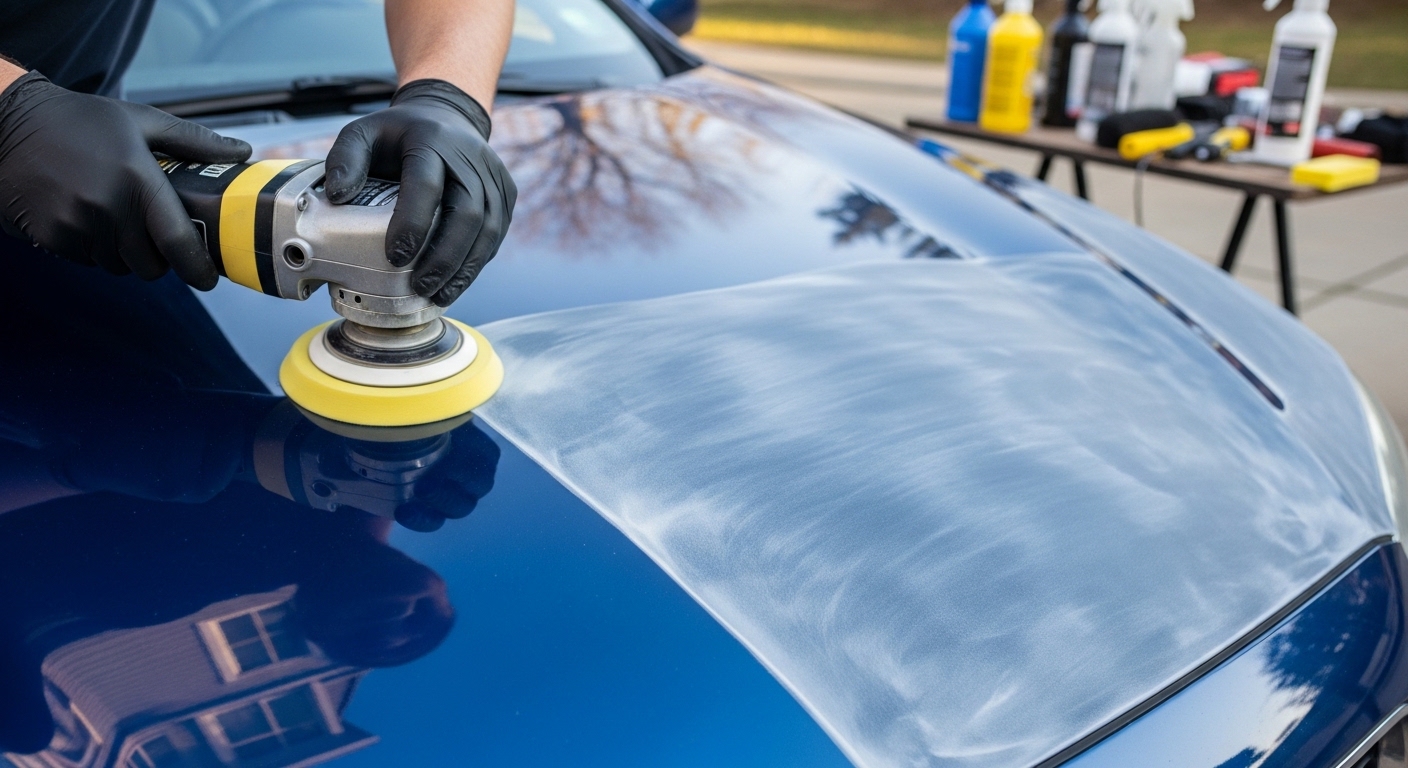
Polishing For A Smooth Finish
Polishing is the next critical step in achieving a smooth and shiny finish. Use a dual-action polisher or a soft cloth for this process. Apply a polishing compound to the pad, then work in small sections. Polishing removes any remaining imperfections from sanding and enhances the overall shine of the paint.
After polishing, wipe down the area with a clean microfiber cloth. This will remove any residue left behind and reveal the true color of the paint. Polishing not only improves the appearance but also helps protect the surface from future damage. Proper technique in this step will lead to a professional-quality finish.
Sealing And Protecting The Repaired Area
To ensure longevity, apply a sealant or wax after polishing. This protective layer will help shield the paint from UV rays and environmental contaminants. Choose a high-quality sealant designed for automotive use. Follow the application instructions carefully to achieve the best results.
Regular maintenance is key to preserving the repaired area. Reapply sealant or wax every few months to maintain protection. Taking these preventative measures will help keep your vehicle looking its best and reduce the risk of future sun damage. This final step is essential for ensuring the durability of your restoration efforts.
Conclusion
After successfully repairing sun-damaged paint, maintaining the finish is crucial. Regular washing and waxing will help protect the paint from UV rays and other elements. Avoid parking in direct sunlight whenever possible to minimize exposure. If you live in a sunny area, consider using a car cover for added protection.
Additionally, scheduling routine maintenance checks can help identify potential issues before they worsen. Regular care will extend the life of your vehicle’s paint job and keep it looking new. By following these guidelines, you can enjoy a beautiful car finish for years to come.